
Here’s how we created a home office complete with a hidden guest bed for around £300!
Before I get into all the details you can also click HERE to see an IGTV of the room that has some basic information too. The post below features the products we used, where we sourced things and how much everything cost. It’s a bit of a long read but it has every last detail about the makeover so I hope you find it helpful.


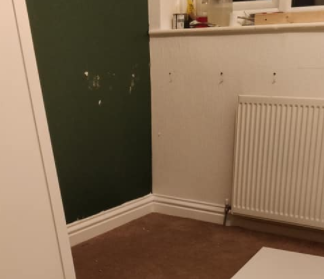
The Colours
The room was a boring magnolia with textured wallpaper on the walls and ceiling. We didn’t want to run the risk of peeling it all off in fear of having to replaster. Instead, we painted over the paper using Johnstone’s Pure Brilliant White emulsions from B&M, it was £14 for 10l. We also painted the skirting boards using Johnstone’s Gloss which was £6.99, also from B&M.

For the feature colour I initially picked up some Dark Ivy emulsion from Wilko, it was £10. It looked great on the tin and website but opening it up it appeared to be a luminous teal rather than dark green. I tried it on the wall and it dried a similar colour to our teal wall in the front room. It didn’t give good coverage either and I would have likely needed another 3 or 4 extra tins to complete the two walls (though this might have been down to painting on paper). The colour just wasn’t as it was meant to be and Wilko has a 100% happy guarantee so I returned the paint and instead headed to B&Q for some Valspar paint.

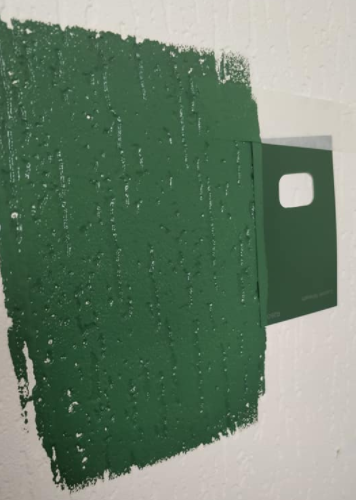
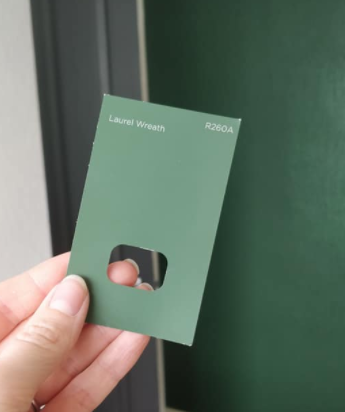
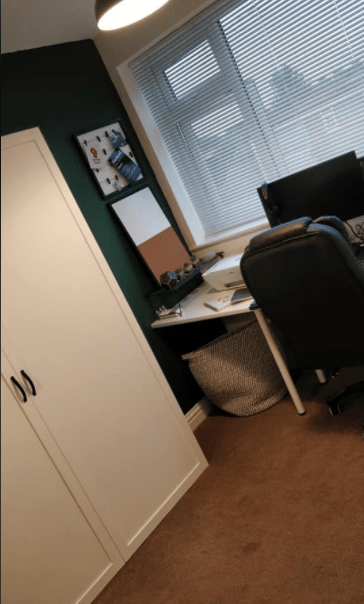
We have used Valspar before and it was amazing so I knew I should have gone with this first. To be on the safe side I went with the biggest tin and top range of paint. It was £46 for 5l of the premium blend but this had mixed in primer. The colour we went with was Laurel Wreath and it was the perfect shade for what we wanted, the Valspar colours actually match the colour chips perfectly so you know the colour you select is the same as it will go on the wall. Valspar is currently 20% off at B&Q until August 31st so now could be a great time to buy if you’re planning on doing some decorating.
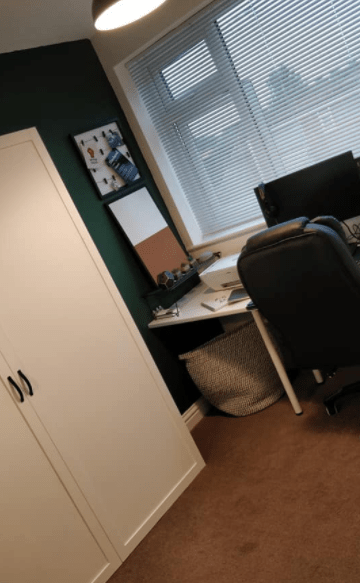
The Desk
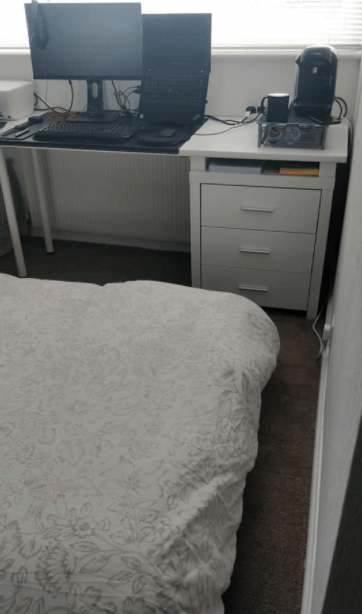
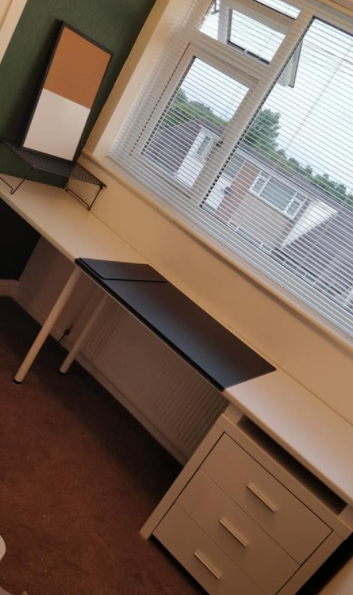
I had a look at buying a new desk and so many flat pack options worked out quite expensive for a small workspace. I kept my eye out on the local buy and sell sites for second hand ones but nothing that seemed right came up. Instead, I thought why not make one ourselves that fits from wall to wall under the window. We’re quite restricted on space and furniture due to the large windows we have so that seemed a great use of the space. We bought a white kitchen worktop from B&Q for £38, it was 12cm too long but B&Q offer a free cutting service so it was cut down to the exact length we needed. We borrowed a friends van so we were able to get it home along with the other large items we bought.

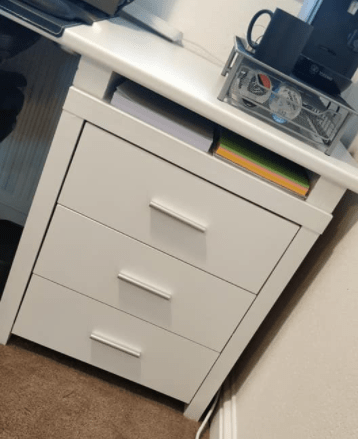
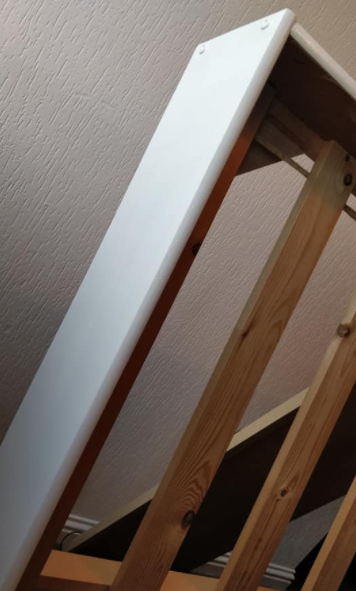
We also bought a long strip of wood and a pack of ten hammer nails to create batten wall supports. The wood cost £5.05 and the nails were £2.47. Due to the length of the desk it needed more support, we bought two 700mm white legs from Ikea for £2.50 each. At the other end of the desk we used the old bedside table that we painted white with leftover kitchen cupboard paint. The bedside table was too short but amazingly, with the old legs from the bed placed on top, it was the exact 70cm height that was needed. We painted the bed legs and secured them to the top of the unit with no more nails and some screws. To make the legs look like they were part of the desk I used some builders caulk to seal the joins. We paid £1.25 but it’s coming up online for £2.64.

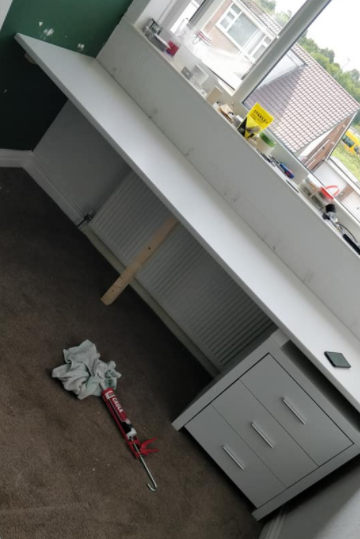


To mount the desk we measured where the battens needed to go, drilled holes in the wood then drilled corresponding holes into the wall. We secured the battens with the hammer nails and plugs. We checked, and double checked everything with a tape measure and spirit level but still managed to get it wrong. We had to remove the battens and start over, luckily we had filler in the shed and plenty of spare paint to cover up the mistake. Once we got the battens in the right place we placed the bedside table under where the desk needed to sit then carefully lifted the worktop in to place. Once it was sitting on the battens Shane used some long wood screws to secure the worktop to the battens from underneath. He then fitted the legs and it was done!
The Bed
This was my crazy idea to create a secret, wall mounted bed. Shane wanted to get a sofa bed but that seemed like a bit of a waste of money when we already had a double bed and mattress. I looked online for ideas and found pictures of Murphy beds, they are pull down beds disguised as cupboards on a hinge mechanism. Unfortunately the hinge system alone cost upwards of £250… so I got my thrifty thinking cap on and came up with a much simpler and cheaper idea…


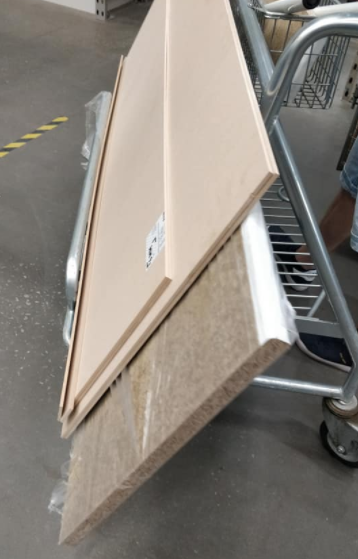
We took the headboard and legs off the existing bed base to create a basic futon style. We used the kitchen cupboard paint to paint it white to fit in with the rest of the office decor. To create the fake doors we bought two 6mm sheets of MDF from B&Q costing £13.49 each, again we used the free wood cutting service to get the panels cut to size. We also had the off-cuts trimmed to make thin battens to use around the edge of the fake doors to create a panel style.
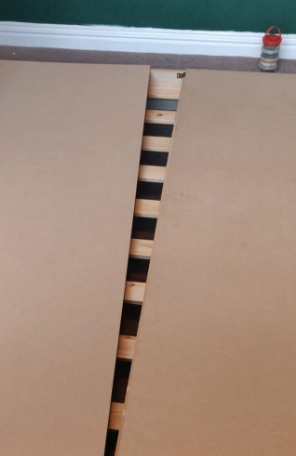

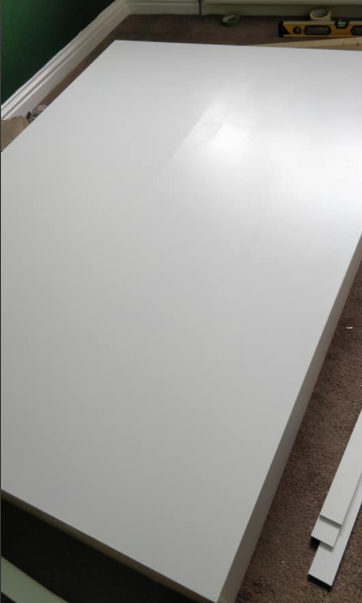

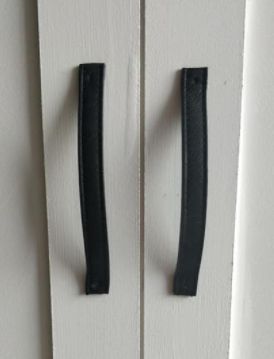
Putting it all together was really simple, we nailed to the large base pieces on then painted it using the cupboard paint. We painted the 5cm wide strips and once dry we attached those around the edge using no more nails. When the panels were set in place I used the caulk to seal the edges so it looked like a proper set of cupboard doors. We gave it another coat of paint (this time with white gloss as we ran out of cupboard paint). We created some simple handles using an old leather strap off a clutch bag of mine. Shane screwed the soft leather in to the MDF so they look like solid handles but they’re soft so the bed can lay flat.

To safely attach the bed to the wall we used six cabin hooks which were £3.79 each from Wickes. We screwed the hook into the base of the bed so when the bed is down the hooks can be folded in to sit under the mattress making it safe and comfortable. the corresponding hooks were screwed in to the wall. To ensure we have the right placement we measured everything twice and taped the hooks to the wall first to make sure they lined up with the hooks.
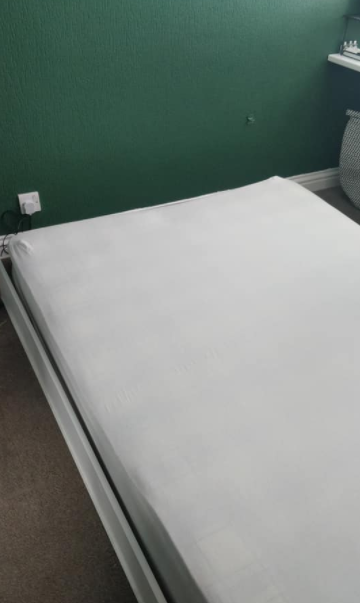

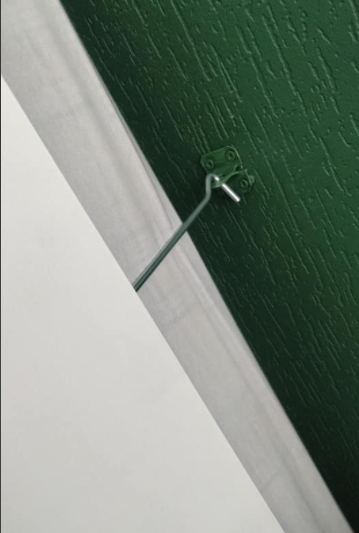
I painted the hooks green to help them blend in to the wall. We put the mattress in to the base and then simple lift the bed up to standing – this is a two person job. Once standing on its end we simply pull the hooks out and slot into the wall brackets. To put the bed down, it is a case of unhooking and slowly lowering it flat on to the carpet. It takes less than a minute to do then just a case of popping the duvet and pillows on. Of course, this design is basic and probably not safe for use around children so always consider safety elements if you’re creating any furniture like this.
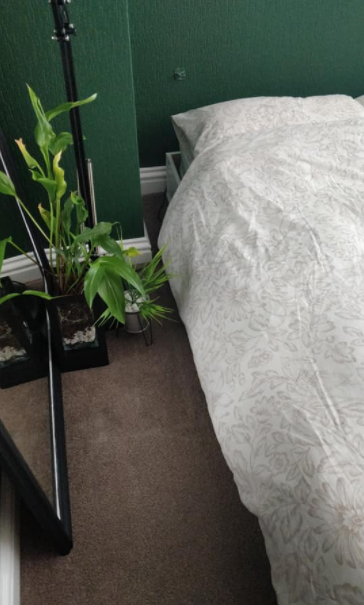
The Accessories
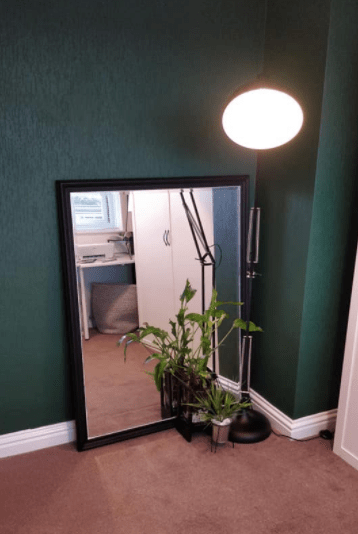
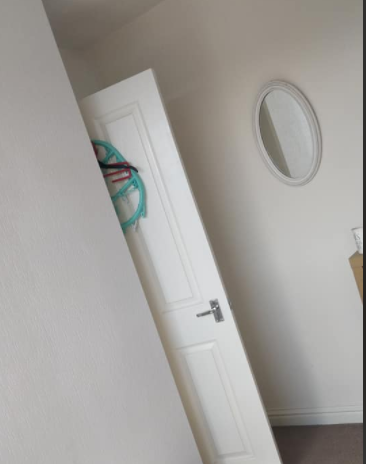
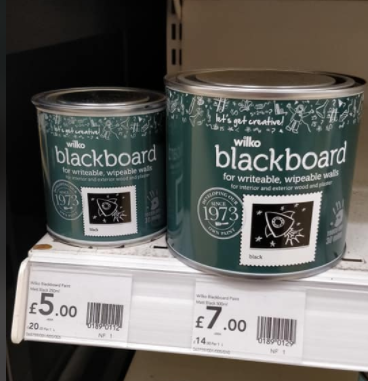
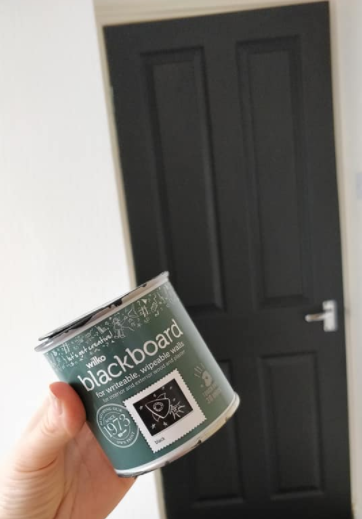
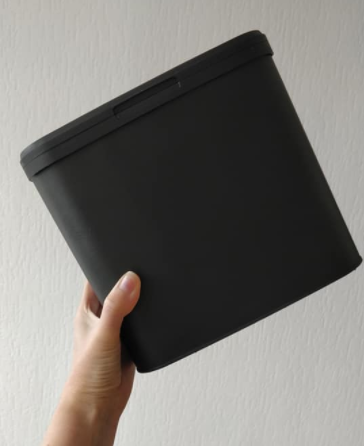
Some of the accessories for the room were bought brand new, others upcycled, some second hand and some sourced for free. The large mirror is my absolute favourite item, it’s an old mirror I bought on eBay years ago for just £5. I had painted it white and used it in my dressing room but no longer had the space for it. I used some chalk board paint which was £5 for a 250ml pot. I finished the mirror off by piping a line of caulk around the inside edge of the frame; this helped to cover up a small gap and also added a nice design feature. A little bit of the chalk board paint goes a long way and I also used that paint to paint the back of the bedroom door, a few other frames and an old coffee tin which is now used as a little bin. I chose this paint because it dries matte black which was the look we wanted rather than the chalk board feature.
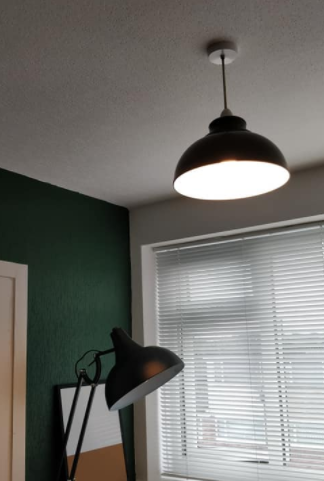

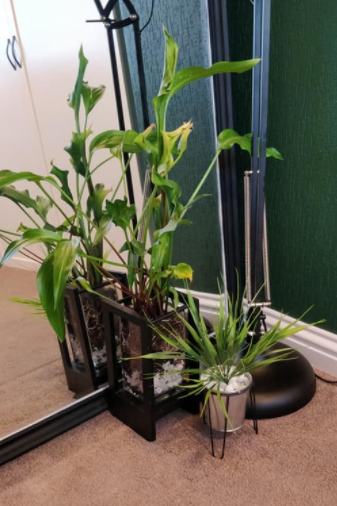
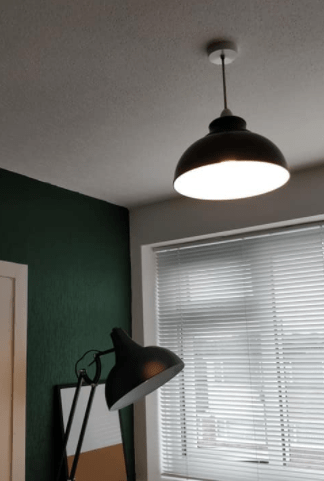
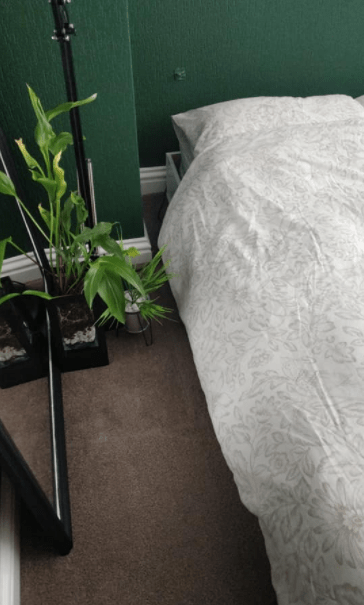
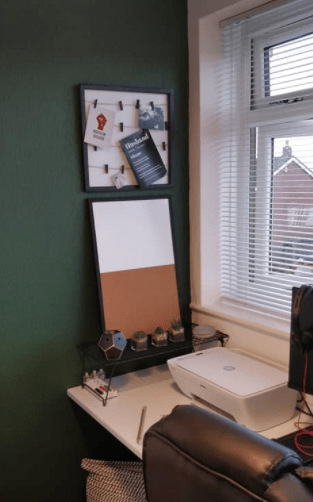
The silver and black plant pot was £1 from Poundland in the gardening section, I filled it with some white stones that cost 49p a bag at Home Bargains and popped an old artificial plan in it. The larger planter was £5 from the local British Heart Foundation furniture shop. I used another bag of white stones and then put the lily from the kitchen in it, it had got too big for the kitchen but fits in great in the office. The large floor lamp was Shane’s treat to himself for the room, it looks great and was a decent price at £54.99 down from £74.99 at TJ Hughes. I found a similar style ceiling light shade at B&M for £9.99.


The black wire shelf on the desk is a £3 shoe rack from Ikea. The mini succulents are ones we used to have in the bathroom, they were originally 49p from Home Bargains. The noticeboard was £5 from B&M and I just painted the frame with the chalk board paint. The peg frame was £1 from the local Mencap shop. The Google Home mini is one we have had for years in the bedroom but never used, Shane won it at work so it was free. The laundry basket was £12.99 from Aldi. The black leather style desk pad was £22 from Ikea and all the computer accessories were provided by Shane’s workplace.


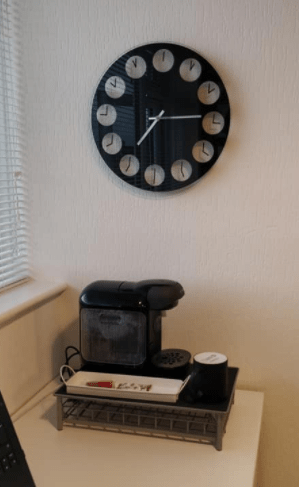
The chair was given to us for free from one of Shane’s friends, he had recently replaced it with a gaming chair. Shane had an old pair of trainers that he had only wore a couple of times so he swapped them for the chair which seemed a brilliant trade. The coffee machine is one we have had for years but rarely used in the kitchen. The stand with a pod drawer that the coffee machine is on was from Amazon, I gave this to Shane as one of his birthday gifts, it was £11.99 plus £1.99 delivery (I used £10 gift card credit I had on my Amazon account). The black oil burner was £3 from B&M. The clock is one we have had for years that I picked up at a car boot sale for 50p.


So that is it, absolutely everything we bought and used. The total cost of items listed is £296.44, we probably spent another £15 on things like screws, brushes and no more nails. We still have plenty of those things leftover for future projects along with spare paint too. It isn’t the cheapest makeover for a room but I think it’s great value for what we have achieved. Very little has gone to waste as we repurposed items we already had in that room or gave them away to other people to use. The MDF off-cuts have been passed on to other people too and I used one in my dressing room. The only waste was the plastic dust sheets and bags used to protect the carpet.
If you want to makeover a room, my top tip would be to have a look on Pinterest at what you like then look at what you already have that you can use. From there, source items on local buy and sell sites or freebie pages and don’t be afraid to try something yourself. Even when things went wrong for us we just learned from it and tried again. It was hard work and took us around nine days of work but we’ve got new skills for future DIY as well as a room that we are hugely proud of! Shane finds working in their so much better and it looks far better than it used to.
Happy DIY-ing,
Thrifty Clair x
